Maintenance – 1 Glass System
Full service is recommended every 2-4 weeks – depending on how busy your church is.
Step 1 – Extinguish Candles
Extinguish any lit candles before beginning maintenance.
Allow all components to cool fully before proceeding..
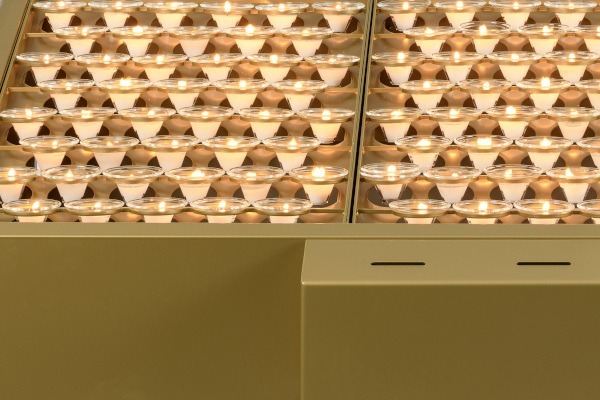
Step 02 – Assessing the Glasses
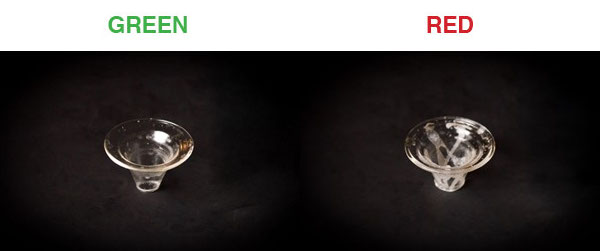
The Traffic Light System
Use the St. Killians Traffic Light System as a guide:
GREEN = OK to go back onto unit once service is complete.
RED = This glass needs to be changed. We provide a glass cleaning service for you to avail of, otherwise, please remove excess wax, wash, dry and reuse again on candle stand.
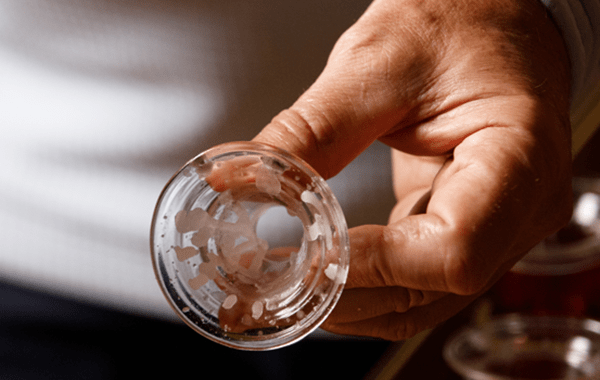
Step 03 – Removing Glasses
Carefully remove only the glasses identified for replacement.
Set them aside for cleaning or placement into the St Killians Glass Exchange boxes.
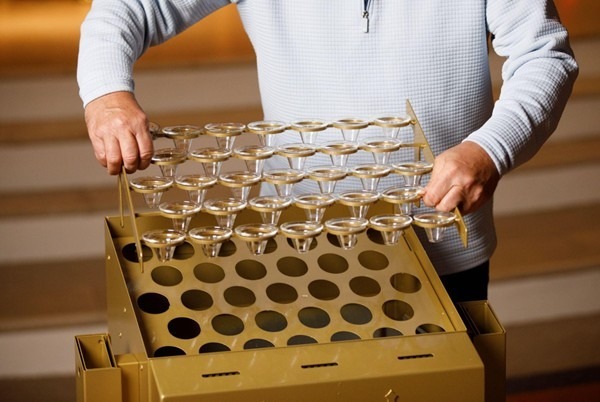
Step 04 – Remove Top Retro
Carefully remove the top retro with glasses from the stand.
Place it securely aside for servicing.
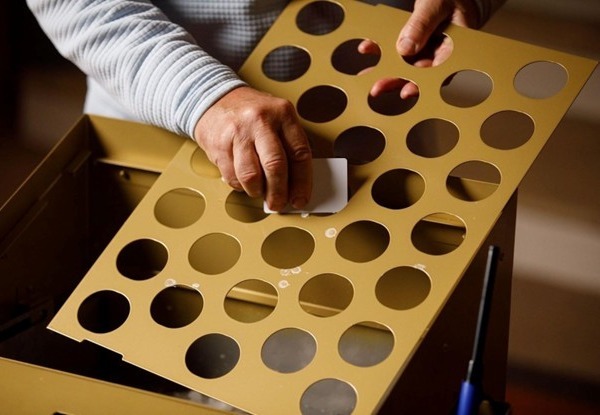
Step 05 – Cleaning Bottom Retro
Lift the bottom retro and place it safely to one side.
Using the plastic scraper provided, gently remove any excess wax from the surface.
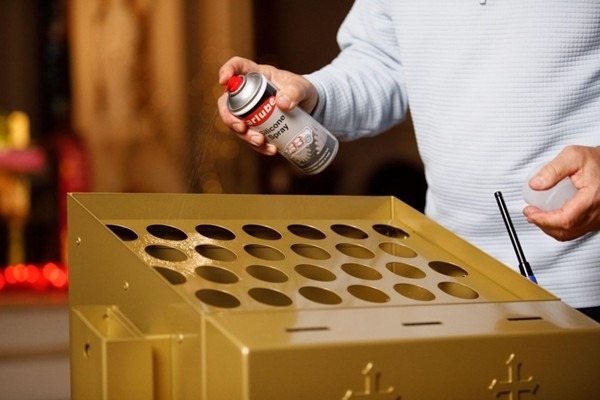
Step 06 – Silicone Treatment
Apply a light coat of silicone spray to the metal surface.
Safety Note:
Follow instructions on the spray can.
Allow the silicone to dry before relighting candles.
Set the bottom retro securely aside.
Step 07 – Water Tray Maintenance
Remove solidified wax from the water tray.
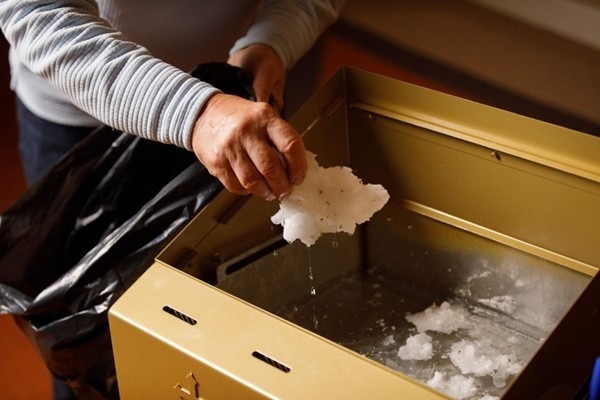
IMPORTANT:
Wax should be removed from the tray twice per week.
Ensure:
● water level remains between 1.5”–2”
● top up if required
Maintaining correct water depth ensures safe extinguishing of candles.
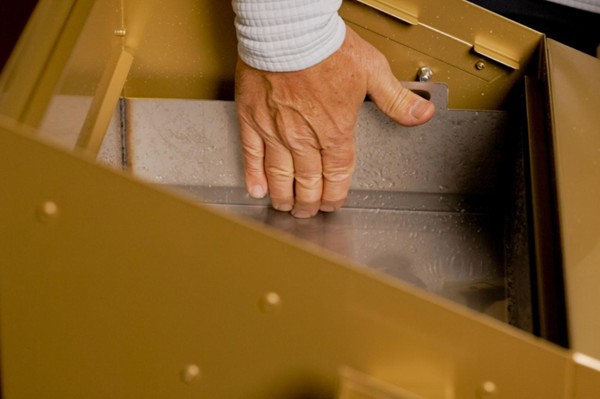
Step 08 – Reinstall Bottom Retro
Return the bottom retro securely to the stand.
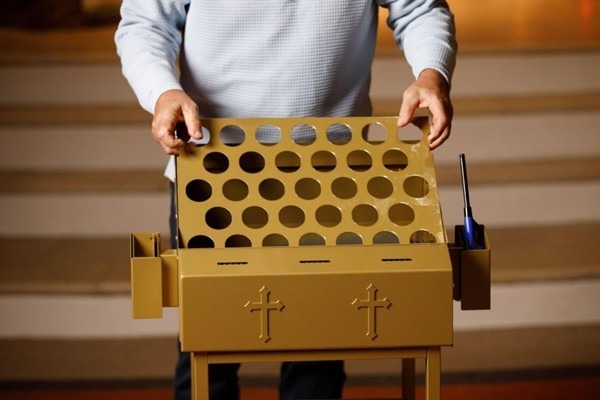
Step 09 – Reassembly
Replace the top retro to the stand.
When positioning the top retro:
Ensure the front edge is placed first, followed by the back supports.
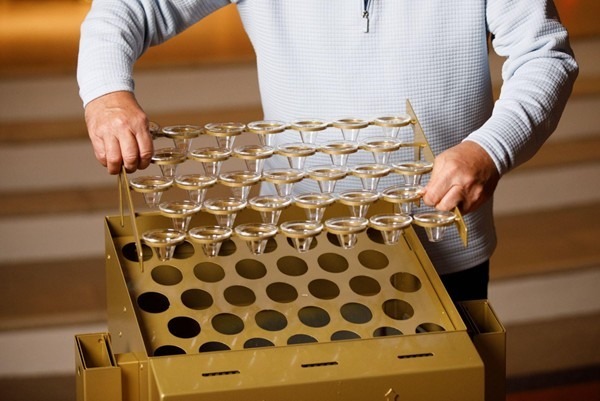
Insert clean glasses into position.
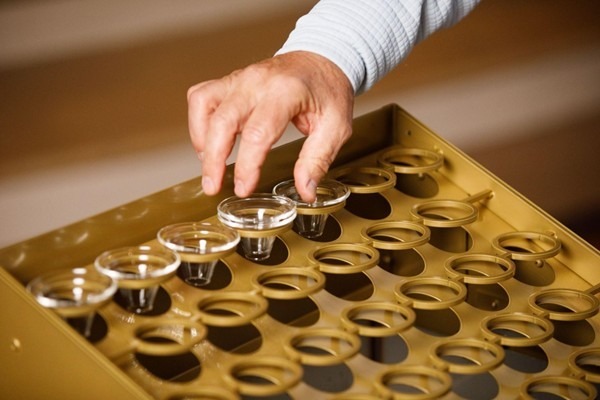
Final Step
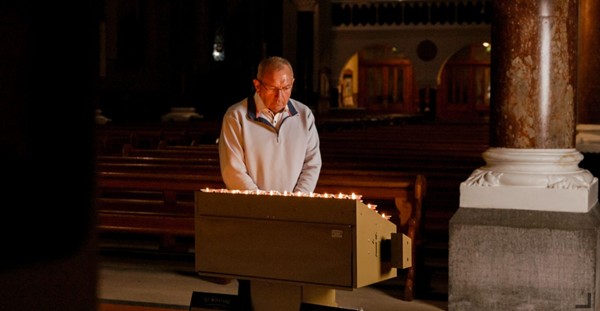
Your candle stand is now fully restored – clean, safe and ready to welcome every prayer and intention.
Before You Go…
Thanks for stopping by!
Before you go why not sign up for our Newsletter and we will keep you up to date with all the latest News and Special Offers from St. Killians